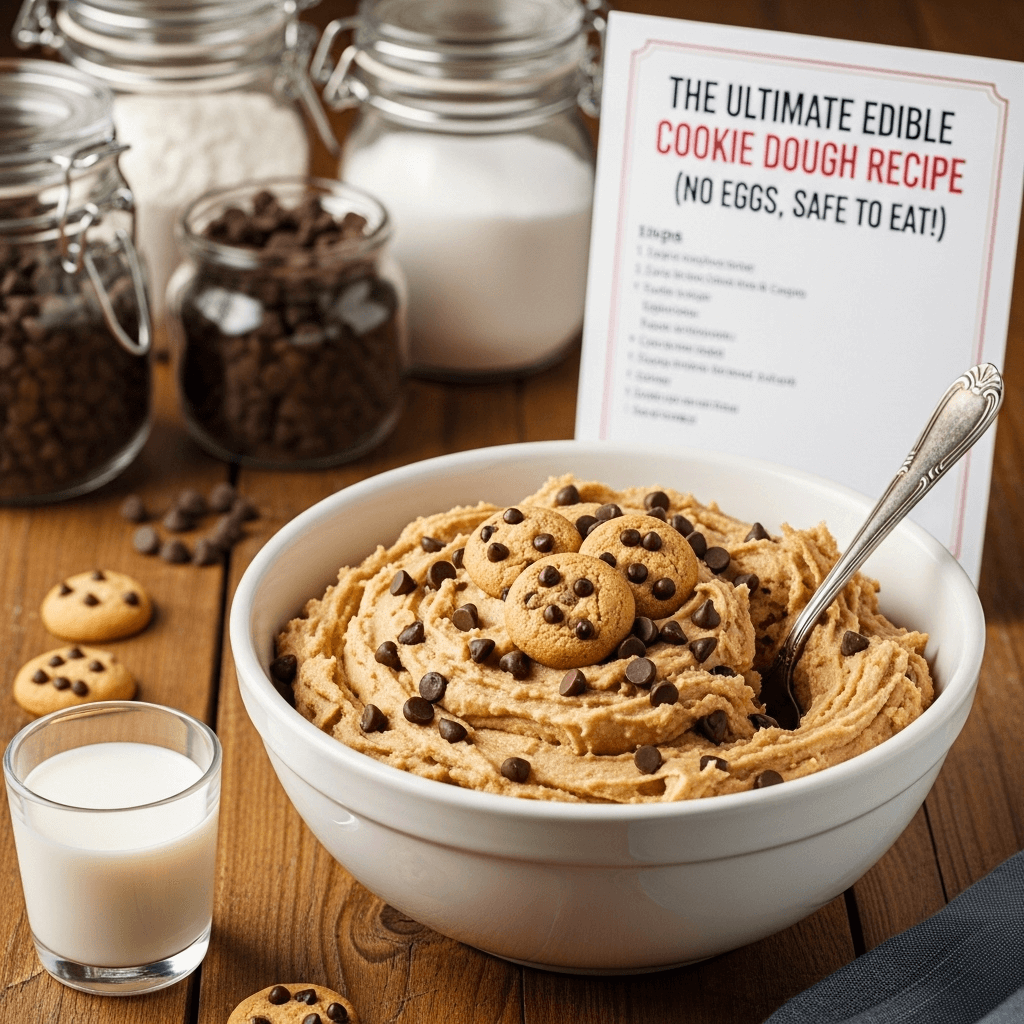
The Ultimate Edible Cookie Dough Recipe (No Eggs, Safe to Eat!)

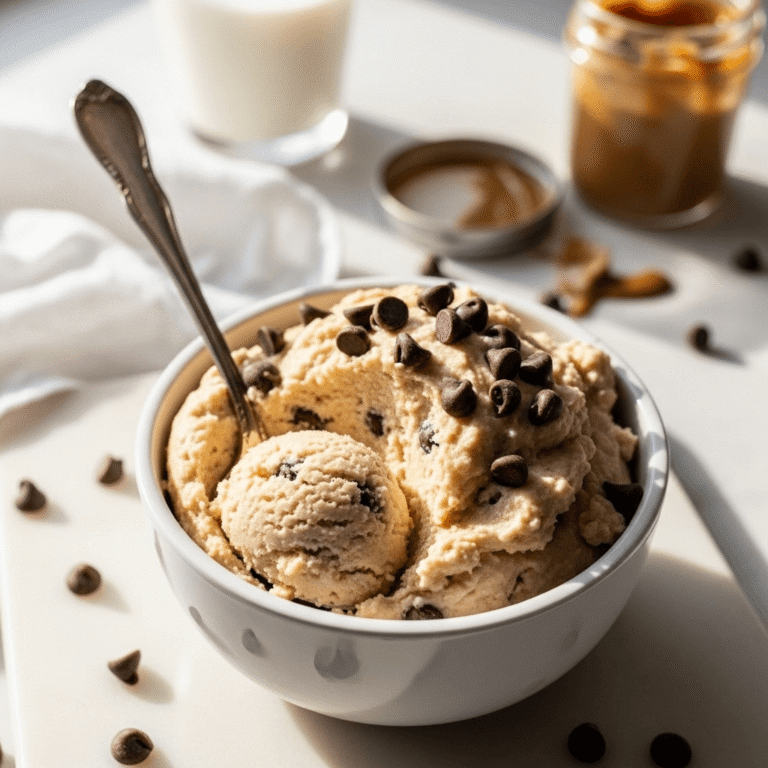
If you’ve ever caught yourself sneaking spoonfuls of cookie dough straight from the mixing bowl, this recipe is your dream come true! This edible cookie dough is a sweet, spoonable treat that’s completely safe to eat raw—no baking required. Unlike traditional cookie dough, this eggless version is made without raw eggs and uses heat-treated flour, making it perfectly safe to enjoy by the spoonful, dip with fruit, or even use as a cake frosting.
This no-bake cookie dough has become a viral sensation on social media and Pinterest, and for good reason. It satisfies every cookie craving in under 10 minutes, requires no special equipment, and tastes just like the real thing—maybe even better! Whether you’re hosting a movie night, looking for a fun dessert to make with kids, or simply need a midnight snack that won’t disappoint, this safe-to-eat cookie dough is the answer. You can enjoy it straight from the bowl, roll it into truffles, or use it as a dip for graham crackers and pretzels. The possibilities are endless, and the taste is absolutely irresistible.
History / Background
The tradition of sneaking cookie dough dates back generations, with home bakers worldwide unable to resist tasting the sweet mixture before it hits the oven. However, concerns about consuming raw eggs and uncooked flour have always made this guilty pleasure come with a side of worry. Raw eggs can carry salmonella, and raw flour has been linked to E. coli contamination in rare cases.
The concept of edible cookie dough as a standalone treat rather than a baking intermediate emerged in the early 2010s when food safety became a bigger conversation in home kitchens. Creative bakers began experimenting with eggless versions, and the trend exploded on food blogs and Pinterest around 2015-2016. Soon after, edible cookie dough shops began popping up in major cities across the United States, serving scoops of safe-to-eat dough in flavors ranging from classic chocolate chip to birthday cake and snickerdoodle.
What started as a workaround for safety concerns has become a legitimate dessert category in its own right. Today, edible cookie dough isn’t just for sneaking anymore—it’s a celebration-worthy treat that people proudly serve at parties, pack into dessert boards, and gift to fellow sweet-tooth enthusiasts. The beauty of this recipe is that it honors the nostalgic flavor we all love while removing any health concerns, making it a guilt-free indulgence that both kids and adults can enjoy without hesitation.
Why You’ll Love This Recipe
This easy edible cookie dough recipe is everything you want in a quick dessert: rich, buttery, studded with chocolate chips, and ready in mere minutes. It’s become one of my most-requested recipes because it delivers pure comfort food satisfaction without any of the work that comes with traditional baking.
Here’s why this recipe will become your new favorite:
- 100% Safe to Eat – No raw eggs and heat-treated flour mean zero food safety concerns
- Ready in 10 Minutes – Faster than preheating your oven, you can go from craving to eating in no time
- No Baking Required – Perfect for hot summer days when you don’t want to turn on the oven
- Endlessly Customizable – Swap chocolate chips for any mix-in you love: peanut butter chips, M&Ms, sprinkles, crushed Oreos, or toffee bits
- Kid-Friendly Activity – Safe for little hands to help make and enjoy without worry
- Budget-Friendly – Made with pantry staples you probably already have on hand
- Perfect for Sharing – Great for parties, movie nights, or girls’ nights in
- Portion Control Friendly – Make a big batch and store it, enjoying just a spoonful when the craving hits
- Texture Control – Want it thick and scoopable? Done. Prefer it thinner for dipping? Just add more milk
- Allergy-Adaptable – Easy to make dairy-free, gluten-free, or vegan with simple substitutions
Ingredient Notes
Understanding your ingredients makes all the difference in achieving that perfect cookie dough consistency and flavor. Here’s what you need and why each component matters:
All-Purpose Flour (Heat-Treated): This is the base that gives your dough that classic cookie texture. You MUST heat-treat your flour by spreading it on a baking sheet and baking at 350°F for 5 minutes, or microwaving it in 30-second intervals for about 1-2 minutes. This kills any potential bacteria. Substitute: Use gluten-free 1:1 baking flour for a gluten-free version, or almond flour for a grain-free option (texture will be slightly different).
Unsalted Butter (Softened): Creates that rich, buttery flavor and smooth, scoopable texture. It should be soft enough to easily mix but not melted. Substitute: Vegan butter works perfectly for a dairy-free version. Coconut oil can work in a pinch but will give a slight coconut flavor.
Brown Sugar: Adds moisture, chewiness, and a deeper molasses flavor that makes this taste like authentic cookie dough. Substitute: Light or dark brown sugar both work; coconut sugar for a less refined option, though the flavor will be slightly different.
Granulated White Sugar: Provides sweetness and helps achieve the right texture balance. Substitute: Can use all brown sugar for a chewier, more molasses-forward flavor.
Vanilla Extract: Essential for that classic cookie flavor. Use pure vanilla extract, not imitation, for the best taste. Substitute: Vanilla bean paste adds even more vanilla flavor with beautiful flecks.
Salt: A pinch enhances all the other flavors and prevents the dough from tasting flat or overly sweet.
Milk: Thins the dough to your desired consistency. Start with less and add more as needed. Substitute: Any milk works—whole, 2%, almond, oat, or soy. Each changes the richness slightly.
Mini Chocolate Chips: The classic mix-in! Mini chips distribute better throughout the dough than regular-sized chips. Substitute: Regular chocolate chips, dark chocolate chunks, white chocolate chips, peanut butter chips, butterscotch chips, or any combination you love.
Equipment Needed
The beauty of this no-bake cookie dough is that you need minimal equipment:
- Baking sheet (for heat-treating flour)
- Medium mixing bowl
- Hand mixer or stand mixer (optional but helpful for creaming butter and sugar)
- Rubber spatula or wooden spoon
- Measuring cups and spoons
- Microwave or oven (for heat-treating flour)
- Storage container with lid (for leftovers)
That’s it! No special tools, no complicated gadgets—just basic kitchen equipment you probably already own.
Print
Edible Cookie Dough Recipe
This safe-to-eat edible cookie dough is made without eggs and with heat-treated flour, creating a sweet, scoopable treat that’s ready in just 10 minutes. Perfect for satisfying cookie cravings without any baking!
- Total Time: 15 minutes
- Yield: 12 servings (about 1.5 cups) 1x
Ingredients
- 1 cup (125g) all-purpose flour, heat-treated
- ½ cup (113g) unsalted butter, softened to room temperature
- ½ cup (100g) light brown sugar, packed
- ¼ cup (50g) granulated white sugar
- 2 tablespoons milk (any kind), plus more as needed
- 1 teaspoon pure vanilla extract
- ¼ teaspoon salt
- ¾ cup (130g) mini chocolate chips
Instructions
- Heat-Treat the Flour: Spread flour evenly on a baking sheet and bake at 350°F (175°C) for 5 minutes, or microwave in a microwave-safe bowl in 30-second intervals for 1-2 minutes total, stirring between intervals. Let cool completely before using. This step is crucial for food safety.
- Cream Butter and Sugars: In a medium mixing bowl, use a hand mixer or wooden spoon to cream together the softened butter, brown sugar, and granulated sugar until light and fluffy, about 2-3 minutes. The mixture should look pale and creamy.
- Add Wet Ingredients: Mix in the vanilla extract and 2 tablespoons of milk until fully incorporated. The mixture might look slightly separated at this point—that’s normal.
- Add Dry Ingredients: Add the cooled, heat-treated flour and salt to the bowl. Mix on low speed (or stir with a spoon) until everything comes together into a thick, cookie dough-like consistency.
- Adjust Consistency: If the dough is too thick, add milk one tablespoon at a time until you reach your desired consistency. For scoopable dough, keep it thick. For dipping, add more milk to thin it slightly.
- Fold in Chocolate Chips: Gently fold in the mini chocolate chips with a spatula until evenly distributed throughout the dough.
- Serve and Enjoy: Serve immediately by the spoonful, use as a dip for cookies or fruit, roll into balls, or store in an airtight container in the refrigerator.
Notes
- Flour Safety: Never skip heat-treating the flour. Raw flour can contain harmful bacteria. Baking or microwaving kills any potential pathogens.
- Butter Temperature: Make sure butter is softened but not melted. If it’s too melted, the dough will be greasy and won’t hold its shape.
- Storage: Keep refrigerated in an airtight container for up to 5 days. The dough will firm up when cold, so let it sit at room temperature for 10-15 minutes before serving for easier scooping.
- Milk Adjustment: Different brands of butter have different water content, so you may need more or less milk to achieve the perfect consistency.
- Prep Time: 10 minutes
- Cook Time: 10 minutes
- Category: Dessert
- Method: No-Bake
- Cuisine: American
- Diet: Vegetarian
Nutrition
- Serving Size: 2 tablespoons (approximately 1/12 of recipe)
- Calories: 195
- Sugar: 16g
- Sodium: 55mg
- Fat: 10g
- Saturated Fat: 6g
- Unsaturated Fat: 3g
- Trans Fat: 0g
- Carbohydrates: 25g
- Fiber: 1g
- Protein: 2g
- Cholesterol: 20mg
Tips & Variations
The beauty of homemade edible cookie dough is how easily you can customize it to match your preferences or what you have on hand.
Flavor Variations:
- Peanut Butter Cookie Dough: Replace ¼ cup butter with ¼ cup creamy peanut butter
- Birthday Cake: Swap chocolate chips for rainbow sprinkles and add ½ teaspoon almond extract
- Double Chocolate: Add 2 tablespoons cocoa powder and use dark chocolate chips
- Snickerdoodle: Omit chocolate chips, add 1 tablespoon cinnamon, and roll dough balls in cinnamon sugar
- Oatmeal Raisin: Reduce flour to ¾ cup, add ¼ cup quick oats (heat-treated), swap chips for raisins, and add ½ teaspoon cinnamon
- S’mores: Mix in mini chocolate chips, mini marshmallows, and crushed graham crackers
- Monster Cookie: Add M&Ms, peanut butter chips, and quick oats
Dietary Modifications:
- Vegan: Use vegan butter and plant-based milk
- Gluten-Free: Use certified gluten-free 1:1 baking flour (heat-treat as directed)
- Refined Sugar-Free: Use coconut sugar instead of brown and white sugar
- Lower Sugar: Reduce sugar to ½ cup total (though texture may be slightly different)
Texture Adjustments:
- Thicker/Scoopable: Use less milk or add an extra 2 tablespoons flour
- Dippable: Add extra milk, one tablespoon at a time, until spreadable
- Truffle-Style: Keep thick, roll into balls, and chill until firm
Pro Chef Tips
Taking your edible cookie dough from good to absolutely amazing comes down to a few professional techniques:
Brown Your Butter for Depth: For an incredibly nutty, caramel-like flavor, brown your butter before starting. Melt butter in a saucepan over medium heat, stirring constantly until it turns golden brown and smells nutty (about 5 minutes). Let it cool and resolidify in the fridge before using. This adds restaurant-quality depth to your cookie dough.
Toast Your Chocolate Chips: Sounds crazy, but spreading your chocolate chips on a baking sheet and toasting them at 350°F for 3-5 minutes (watching carefully) intensifies their chocolate flavor dramatically.
Use a Kitchen Scale: For the most consistent results, weigh your flour (125g per cup) rather than measuring by volume. Flour can compact in the bag, leading to dry, crumbly dough if you measure too much.
Let It Rest: If you have time, refrigerate the dough for 30 minutes before serving. This allows the flour to fully hydrate and the flavors to meld together, creating a more cohesive, less grainy texture.
Layer Your Flavors: Add a tiny pinch of espresso powder (just ⅛ teaspoon) to enhance the chocolate flavor without making it taste like coffee. It’s a professional baker’s secret weapon.
Quality Ingredients Matter: Since this recipe has so few ingredients, each one really shines through. Use high-quality chocolate chips (Ghirardelli or Guittard are excellent) and real vanilla extract, not imitation.
Common Mistakes to Avoid
Even a simple recipe like safe cookie dough can go wrong if you skip important steps. Here’s what to watch out for:
Skipping the Flour Heat Treatment: This is the most important step! Raw flour can contain harmful bacteria. Always heat-treat your flour, even if you’re in a hurry. Your health isn’t worth the 5 minutes you’d save.
Using Melted Butter Instead of Softened: Melted butter creates a greasy, separated dough that won’t hold together properly. Your butter should be soft enough to easily press a finger into, but not melted or oily. If you melted it by accident, let it resolidify in the fridge before proceeding.
Not Cooling the Heat-Treated Flour: Adding warm or hot flour to butter will melt it and ruin the texture. Always let your treated flour cool completely to room temperature before mixing it into your dough.
Overmixing After Adding Flour: Once you add the flour, mix just until combined. Overworking the dough can make it tough and dense instead of soft and scoopable. Stir gently until you no longer see dry flour streaks.
Forgetting to Adjust Consistency: Different butter brands have different moisture levels, and humidity affects flour. Always add milk gradually at the end to achieve your perfect consistency. It’s easier to add more liquid than to try to thicken an already-thin dough.
Storage & Meal Prep
One of the best things about edible cookie dough is how well it keeps, making it perfect for meal prep or satisfying late-night cravings throughout the week.
Refrigerator Storage: Transfer your cookie dough to an airtight container and store in the refrigerator for up to 5-7 days. The dough will firm up significantly when cold, almost to the consistency of store-bought cookie dough. Simply let it sit at room temperature for 10-15 minutes before serving, or microwave for 10-15 seconds to soften slightly.
Room Temperature: While you can leave cookie dough at room temperature for a few hours during a party, don’t store it this way long-term. The butter can go rancid, and without preservatives, it’s safer to keep it chilled.
Portion Control Tip: Use a cookie scoop to portion the dough into individual servings on a parchment-lined plate. Once they’re frozen solid (about 2 hours), transfer to a freezer bag. This way you can grab just one or two “bites” when you want a treat without thawing the entire batch.
Reheating: If your dough is too firm from the fridge, you have several options: let it sit at room temperature for 15 minutes, microwave for 10-15 seconds (checking frequently), or knead it with your hands for a minute to warm it up. Never microwave for too long or the chocolate chips will melt.
Make-Ahead & Freezer Notes
Make-Ahead Preparation: This dough is perfect for making ahead! You can prepare it up to 5 days in advance and keep it refrigerated. In fact, many people say it tastes even better on day two after the flavors have had time to meld together. Just remember to let it come closer to room temperature before serving for the best texture.
Freezing Instructions: Yes, edible cookie dough freezes beautifully! Here’s how:
- Scoop dough into individual portions using a cookie scoop
- Place on a parchment-lined baking sheet and freeze until solid (about 2 hours)
- Transfer frozen dough balls to a freezer-safe bag or container, removing as much air as possible
- Label with the date and contents
- Freeze for up to 3 months
Freezing a Large Batch: If you don’t want to portion it, you can freeze the entire batch in an airtight container. Press plastic wrap directly onto the surface of the dough before sealing to prevent freezer burn.
Thawing Instructions: Transfer individual portions to a plate and let them sit at room temperature for 15-20 minutes, or thaw in the refrigerator overnight. For a whole batch, thaw in the refrigerator for 4-6 hours or overnight. Once thawed, stir well to restore the creamy texture.
Freezer-to-Treat Hack: Some people actually prefer eating this cookie dough straight from the freezer! The frozen balls have a truffle-like texture that’s incredibly satisfying. Try it both ways to see which you prefer.
Serving Suggestions
Edible cookie dough is incredibly versatile and can be enjoyed in so many creative ways beyond eating it straight from the bowl (though that’s absolutely delicious too!).
As a Dessert Dip: Serve in a bowl surrounded by graham crackers, vanilla wafers, animal crackers, pretzel sticks, strawberries, apple slices, or banana coins for dipping. This makes a fun interactive dessert for parties or girls’ nights.
Cookie Dough Truffles: Roll chilled dough into 1-inch balls, then dip them in melted chocolate (milk, dark, or white). Place on parchment paper to set, then serve as elegant bite-sized treats. You can even drizzle with contrasting chocolate or add sprinkles before the coating sets.
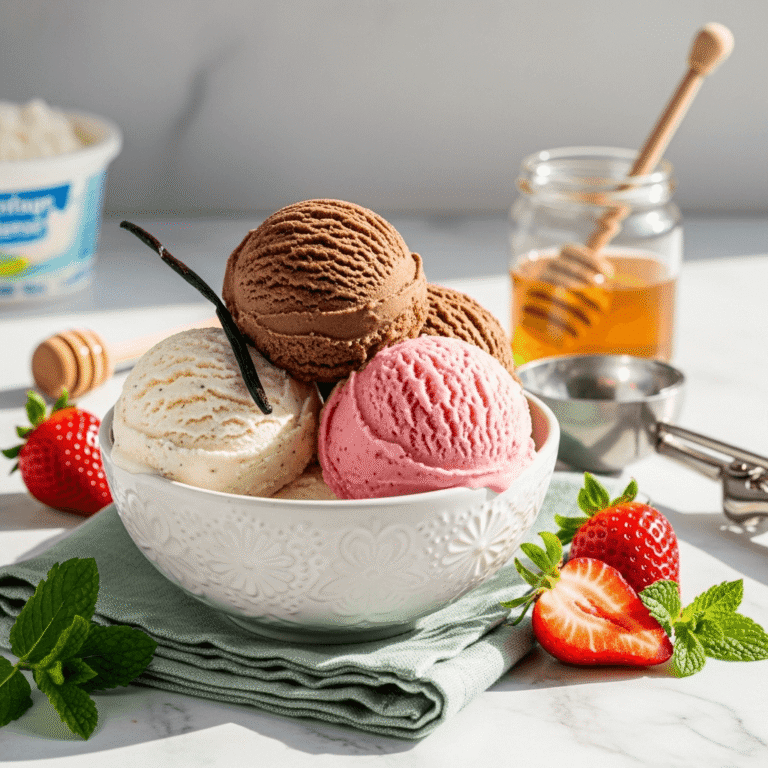
Ice Cream Mix-In: Soften your favorite vanilla ice cream slightly, fold in chunks of cookie dough, then refreeze. It’s like homemade cookie dough ice cream without an ice cream maker!
Cake or Cupcake Frosting: Thin the dough slightly with extra milk until it’s spreadable, then use it as a unique frosting for chocolate or vanilla cake. It’s absolutely decadent and will wow your guests.
Dessert Boards: Include scoops of cookie dough on a dessert charcuterie board alongside brownies, cookies, candy, fruit, and various dippers. It’s always the star of the board!
Milkshake Topping: Blend some into a milkshake or use it as a topping for ice cream sundaes, adding incredible cookie flavor to any cold dessert.
Layered Parfaits: Layer cookie dough with whipped cream, crushed cookies, and chocolate sauce in clear glasses for an impressive no-bake dessert.
Beverage Pairing: Serve with cold milk, hot coffee, iced coffee, hot chocolate, or even a dessert wine for adults. The sweet, buttery flavor pairs wonderfully with both hot and cold beverages.
FAQs Section
Can I use raw flour if I’m willing to take the risk?
We strongly advise against this. While the risk is relatively low, flour can be contaminated with E. coli or other harmful bacteria. Heat-treating flour takes only 5 minutes and eliminates any potential health risk entirely. It’s simply not worth gambling with your health or your family’s health when the prevention is so simple.
Why does my cookie dough taste floury or grainy?
This usually happens if you don’t let the flour cool completely before adding it, or if you don’t mix it long enough with the butter mixture. Make sure your heat-treated flour is completely cool, and mix until the texture becomes uniform and smooth. Adding a bit more milk can also help. Some people find that refrigerating the dough for 30 minutes helps the flour fully hydrate and reduces any graininess.
Can I make this without a mixer?
Absolutely! While a hand mixer makes creaming the butter and sugar easier, you can definitely make this by hand with a sturdy wooden spoon or rubber spatula. Just make sure your butter is very soft (but not melted) and be prepared to stir vigorously for a few minutes to get everything well combined.
How do I know if my flour is heat-treated enough?
Your flour should reach at least 160°F (71°C) to kill potential bacteria. If you’re using an oven, 5 minutes at 350°F is sufficient. For microwaving, the flour should feel slightly warm to the touch after the 1-2 minutes of heating. When in doubt, use a food thermometer to check. It’s better to heat-treat a bit longer than not enough.
Can I use pre-heat-treated flour?
Some specialty stores now sell heat-treated flour specifically for edible cookie dough and other no-bake recipes. If you find this product, you can absolutely use it and skip the heat-treating step. Just make sure the packaging clearly states it’s been heat-treated or is safe to consume raw.
What’s the best way to soften butter quickly?
Cut the butter into small cubes and let it sit at room temperature for 15-20 minutes. You can also microwave it for 5-10 seconds at a time, checking frequently—but be very careful not to melt it. Another trick is to fill a glass with hot water, let it sit for a minute to warm the glass, dump out the water, then invert the glass over your stick of butter on a plate. The trapped warmth softens the butter in about 10 minutes.
Can I reduce the sugar to make this healthier?
You can reduce the sugar somewhat, but keep in mind that sugar isn’t just for sweetness—it also affects texture. If you go below ½ cup total sugar, the dough may be dry and less scoopable. For a healthier version, try using coconut sugar or a sugar substitute like monk fruit sweetener that measures 1:1 for sugar, though the taste and texture will be slightly different.
Why is my dough too dry and crumbly?
This usually means you either packed your flour too much when measuring (use the scoop-and-level method, or better yet, weigh it), or you need to add more milk. Start by adding milk one tablespoon at a time until the dough comes together. It could also mean your butter wasn’t soft enough when you started mixing.
Conclusion
There’s something wonderfully indulgent about eating edible cookie dough by the spoonful, and now you can do it without any worry! This recipe captures all the nostalgic, comforting flavors of traditional cookie dough while being completely safe to enjoy raw. Whether you’re making it for a party, as an afternoon treat with your kids, or simply to satisfy your own sweet tooth, this safe-to-eat cookie dough delivers every single time.
The best part? This recipe is endlessly adaptable to your tastes. Once you master the basic formula, you’ll find yourself experimenting with different mix-ins, flavor additions, and ways to serve it. From birthday cake flavor to double chocolate, from dessert dip to truffle filling, the possibilities are truly endless.
I’d love to hear how your edible cookie dough turns out! Did you try any fun flavor variations? Do you prefer eating it straight from the bowl or turning it into truffles? Drop a comment below sharing your experience, and don’t forget to rate this recipe if you loved it. And please—save this recipe to your Pinterest boards so you can find it again when that cookie dough craving hits! Your friends will thank you when you share this gem with them too.
Now grab your mixing bowl and get ready to enjoy cookie dough the way it was meant to be eaten—by the spoonful, guilt-free, and absolutely delicious!